Hey my awesome friends,
I always awed at glamorous smokey eyes but could never gather courage to try them on myself and I guess that’s where the greatest weakness lies. Without even giving it a try, we make a preconceived notion about certain things and give up on them. Smokey eyes was one of those elusive things in my long long list of the impossible 🙂 I even attempted it a couple of times but ended having dreaded black eyes as if someone punched them LOL. Whatsoever I did not give up and kept trying and this is what I came up with … after which I felt so satisfied and my sense of accomplishment was pretty awesome!!!
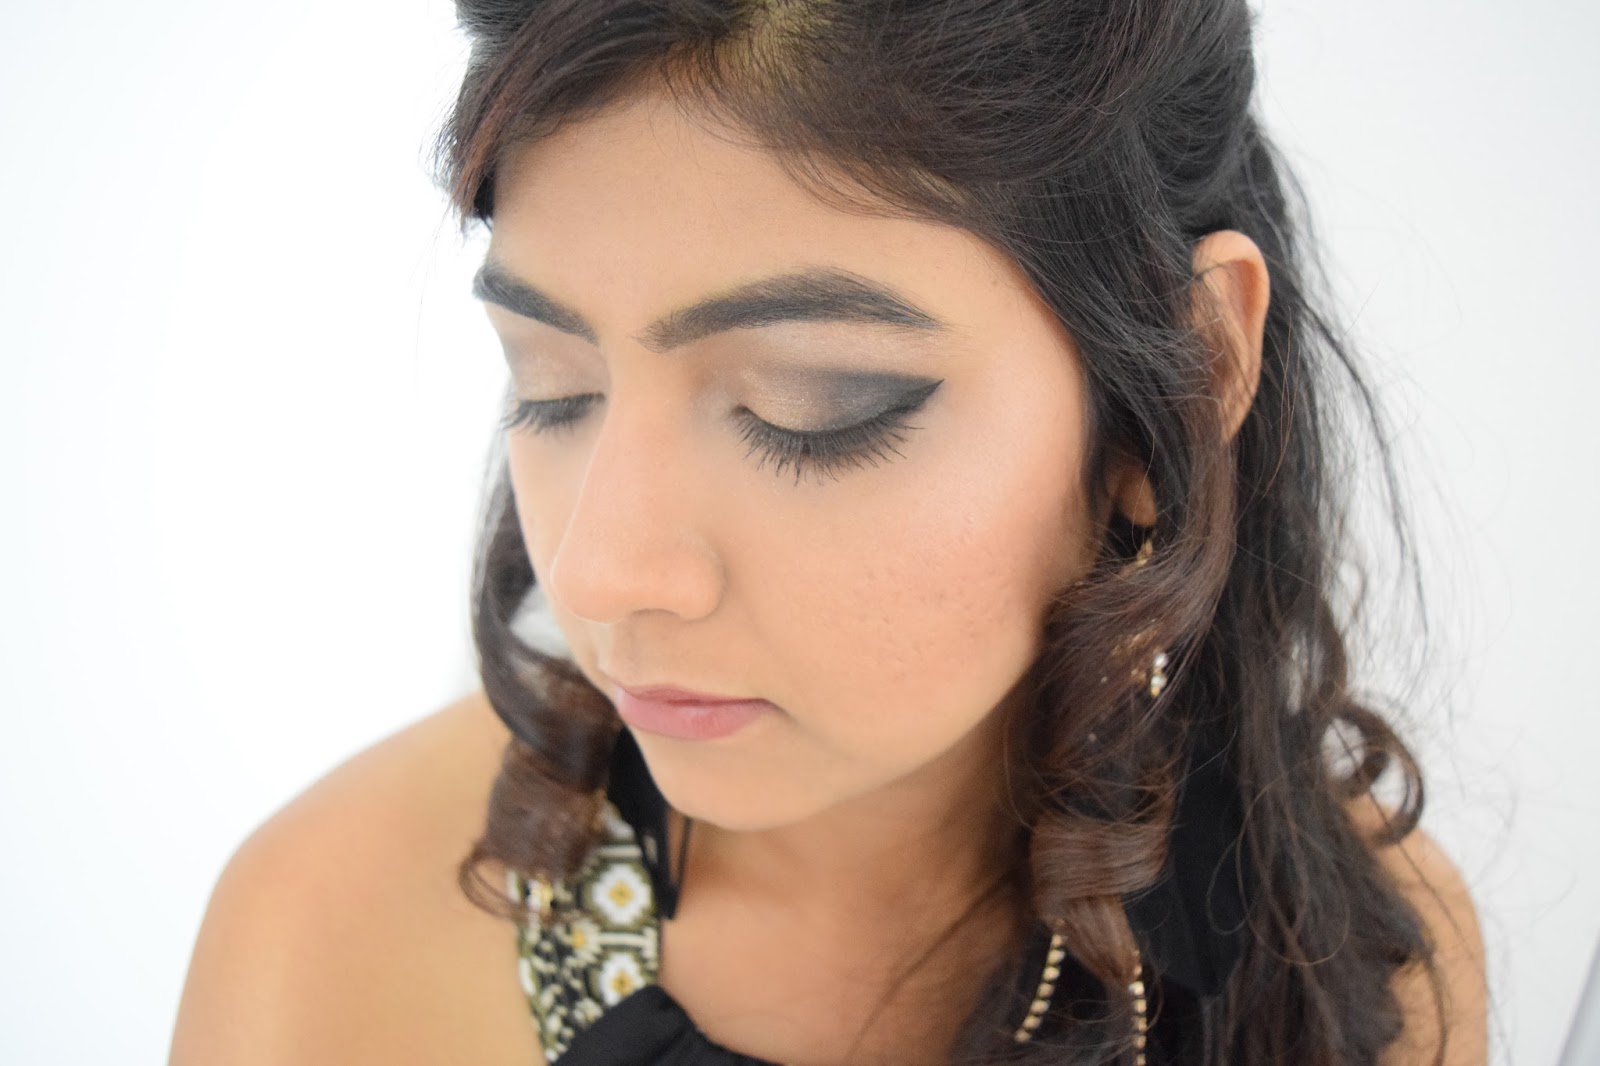
Keep reading if you want to know how I created this smokey eyes with a n*ude lips look which is absolutely perfect for a romantic dinner date or any party for that matter.
SKIN:
Step 1: Deep cleanse your face, apply a good moisturiser and leave it for at least 5 mins before you begin your makeup. I used “Oils Of Life Intensely Revitalising Cream” @The the Body Shop
Step 2: Prep your skin with a face primer so that your foundation stays in place longer. Used “Step 1 skin equaliser primer” @Make Up For Ever
Step 3: Apply your foundation and blend it in your skin in circular motion. (You can either use a moist beauty blender or a foundation brush) Used “Liquid Halo HD foundation” @Smashbox
Step 4: Apply concealer in the under eye area. You might want to use a color corrector if your dark circles are too prominent as in my case 🙁 before using the concealer. Used “Peach corrector” @Bobbi Brown for color correction and “Bye Bye Under Eye Concealer” @IT Cosmetics
Step 5: Prep your eyes for the shadow by applying an eye-shadow primer. Used “Shadow Insurance” @Too Faced
Step 6: Once you are done with all the above steps use a compact or loose powder to set everything in place . Used “Studio Fix Powder” @MAC
EYES:
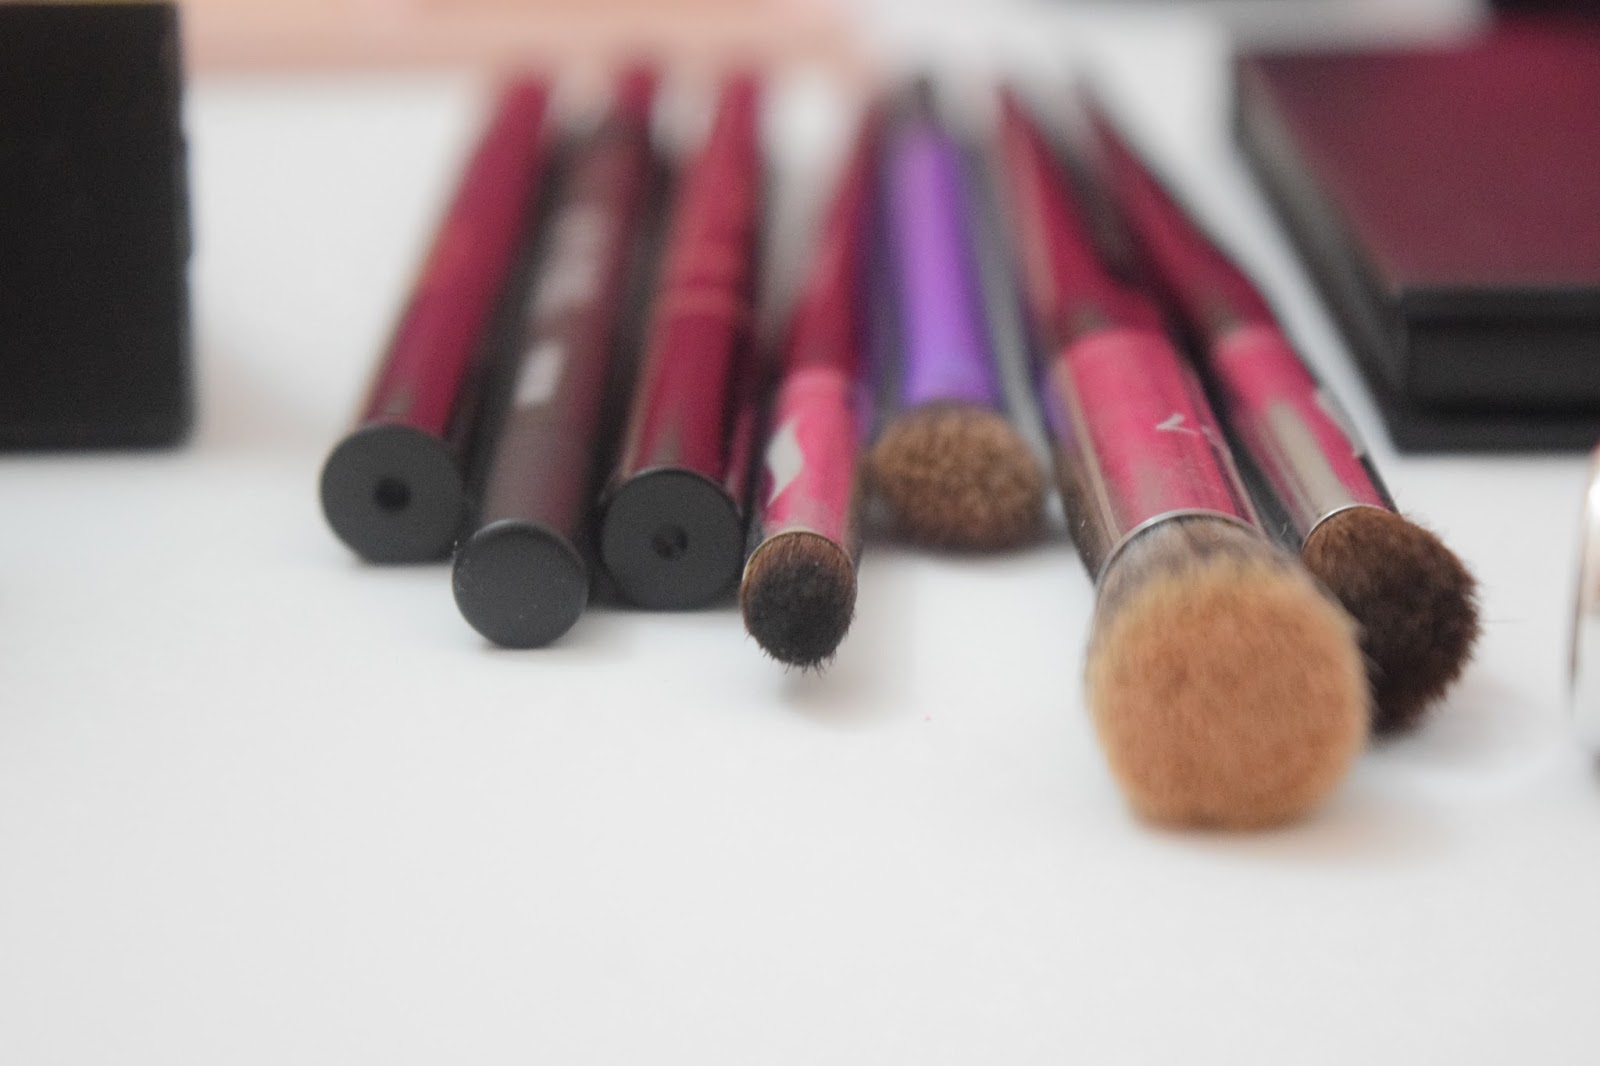
Step 1: Apply a skin tone shade all over the lid using a Flat Brush.
Step 2: Apply a slightly darker brown shade on the crease and outer V and gently blend it unlit there is no harsh line using a blending brush.
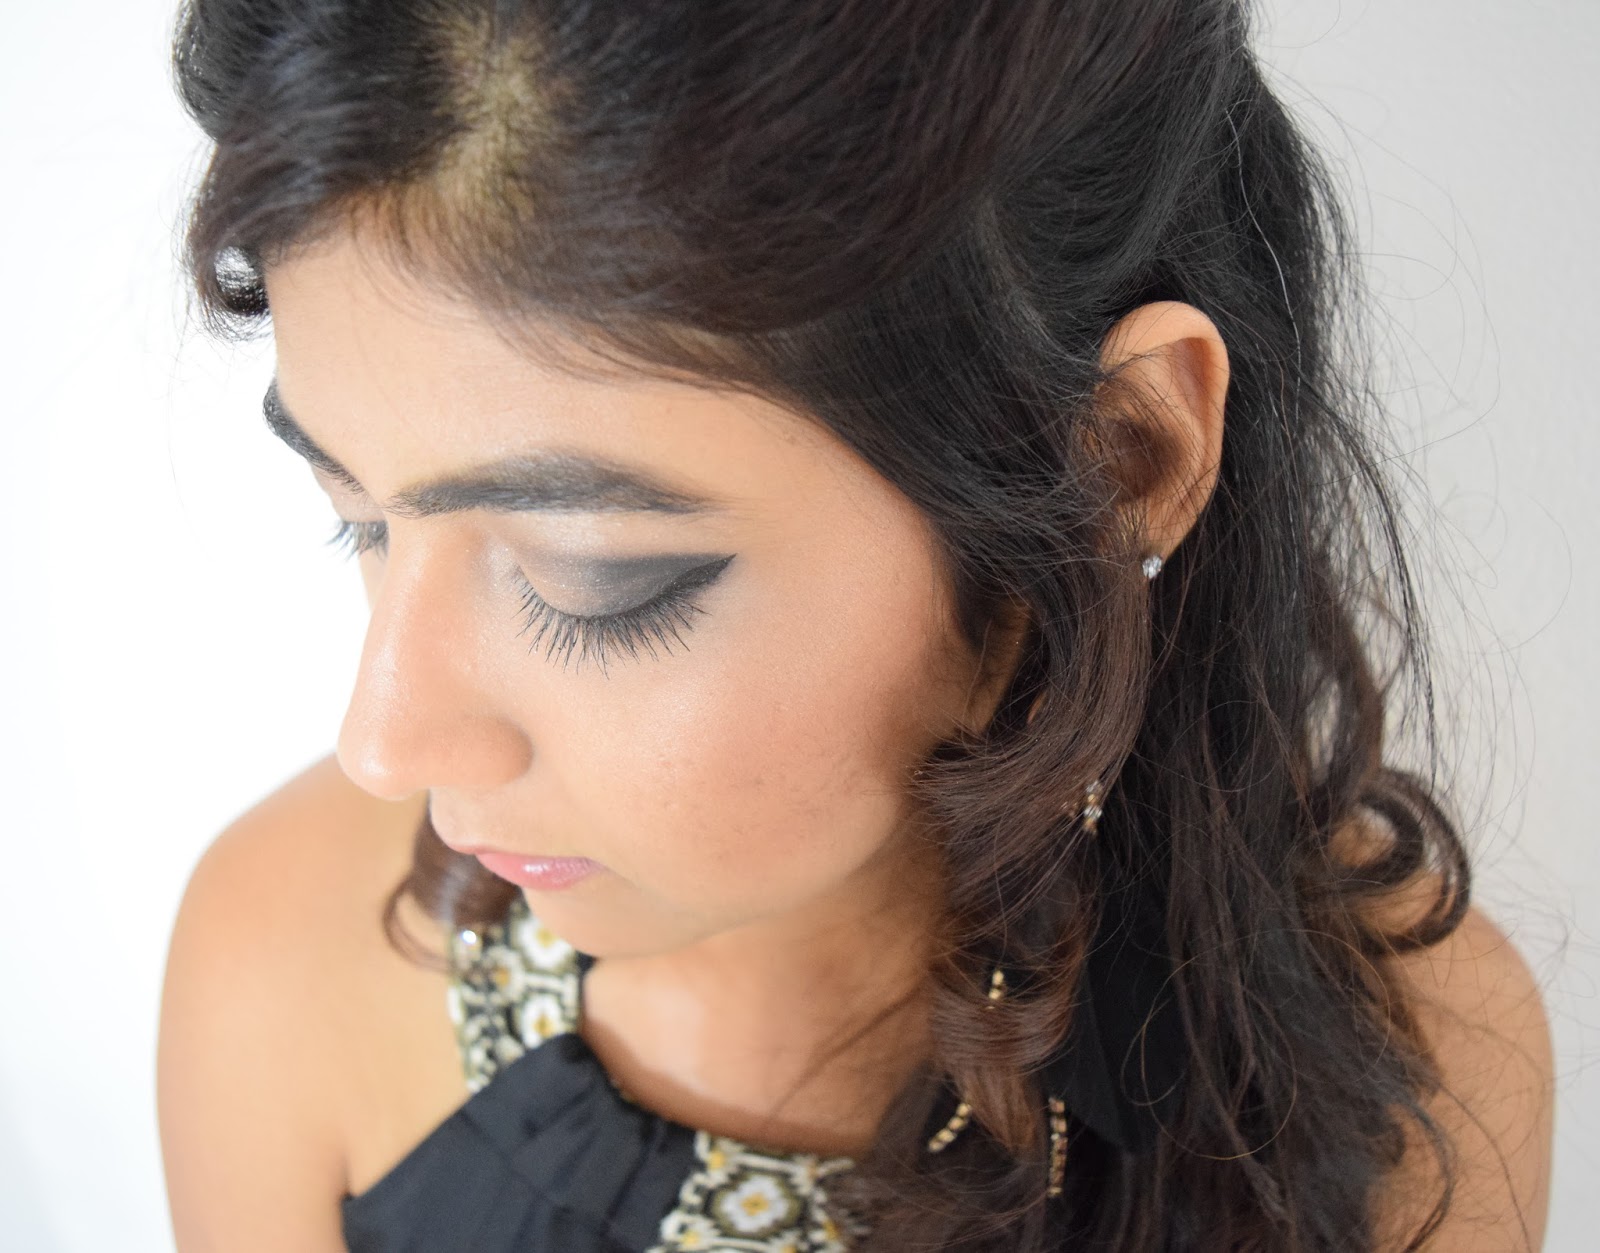
Step 3: Now take a black shade and using a pencil brush apply it on the Outer V of the eyes and the lower water line. Make sure you are gentle and build the color slowly (Or Black shadow might cause a lot of terror attack).Also make sure to blend in everything.
Step 4: Once you are happy with this, go for a golden color in your palette and pack it on the outer third of your eyes with a flat brush.
Step 5: Apply a highlight color on your brow bone as well as the outermost corner of your eyes
Step 6: Definitely need a liquid or gel liner for a dramatic winged eyes.
Step 7: Top off with two coats of your fav mascara.
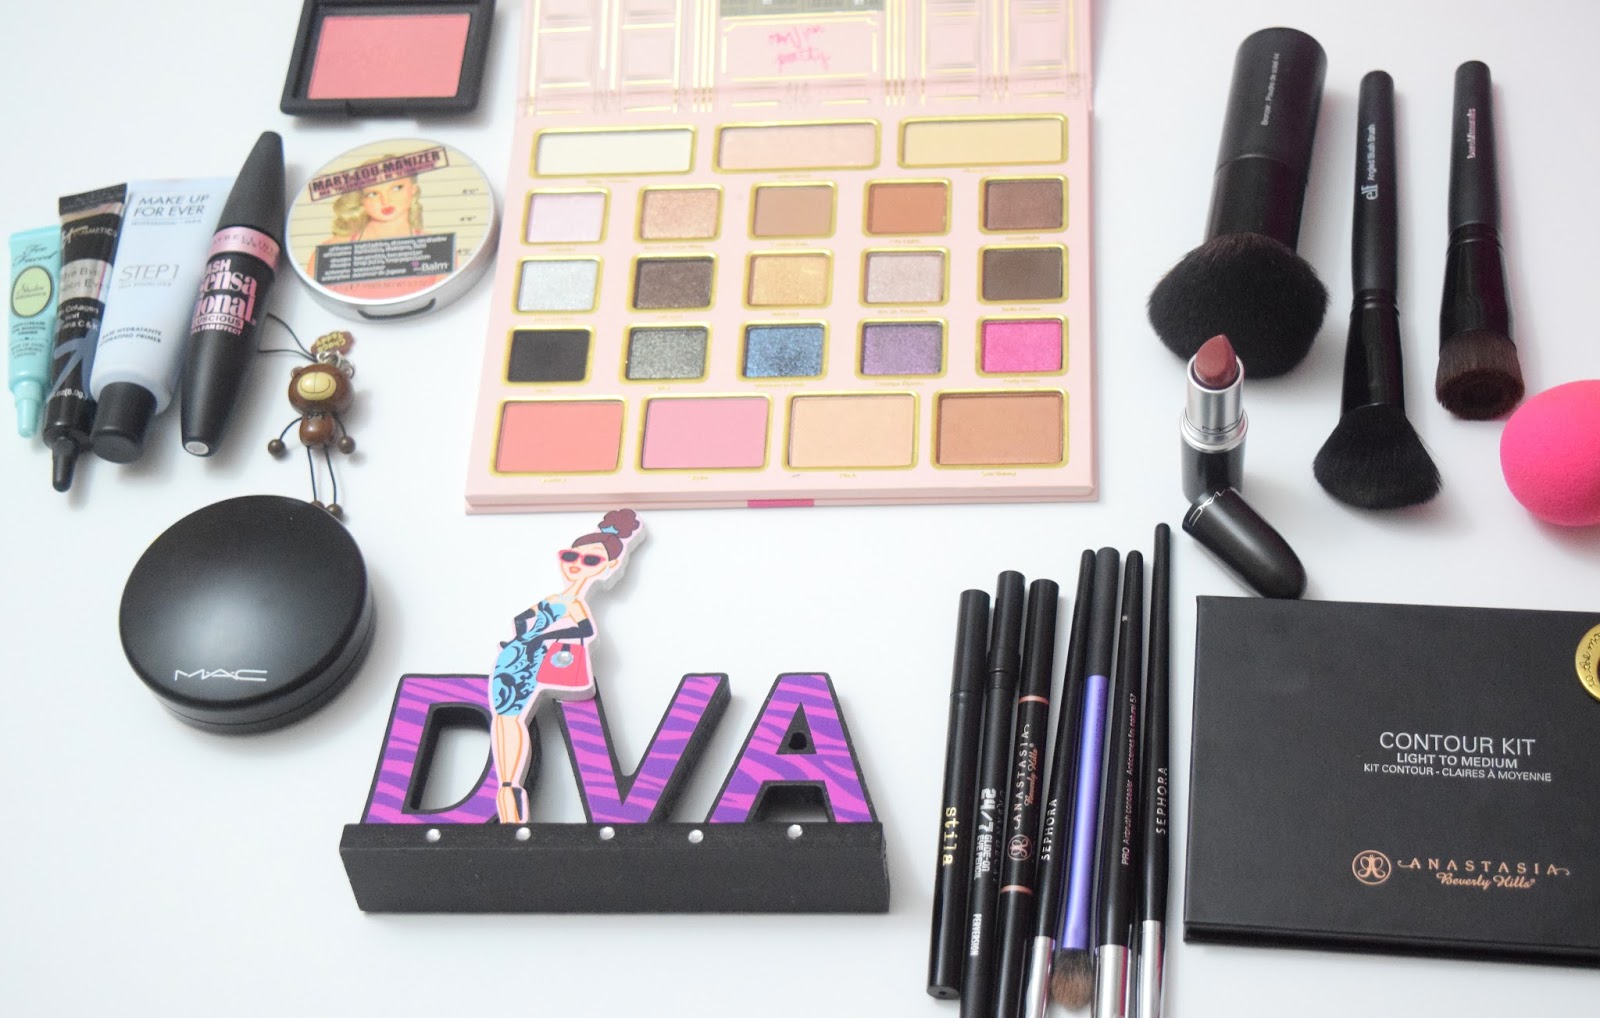
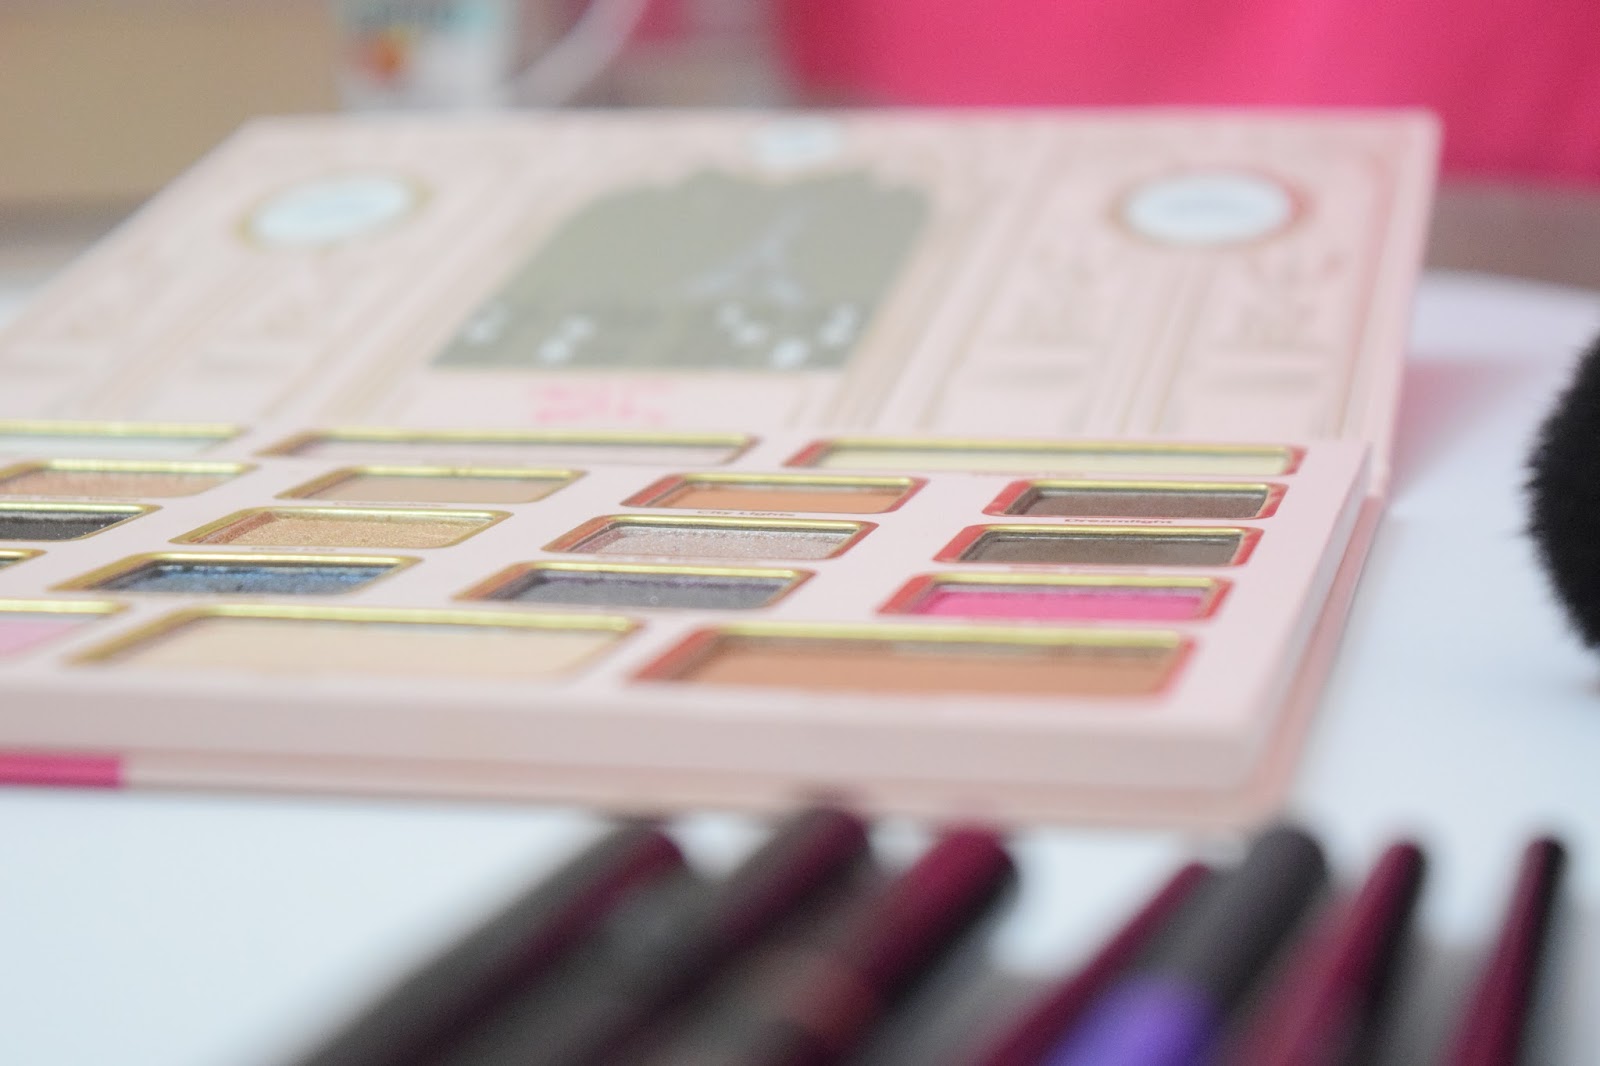
I used the “Own Your Pretty” palette @Too Faced and “Stay All Day Liquid Waterproof Liner” By Stilla
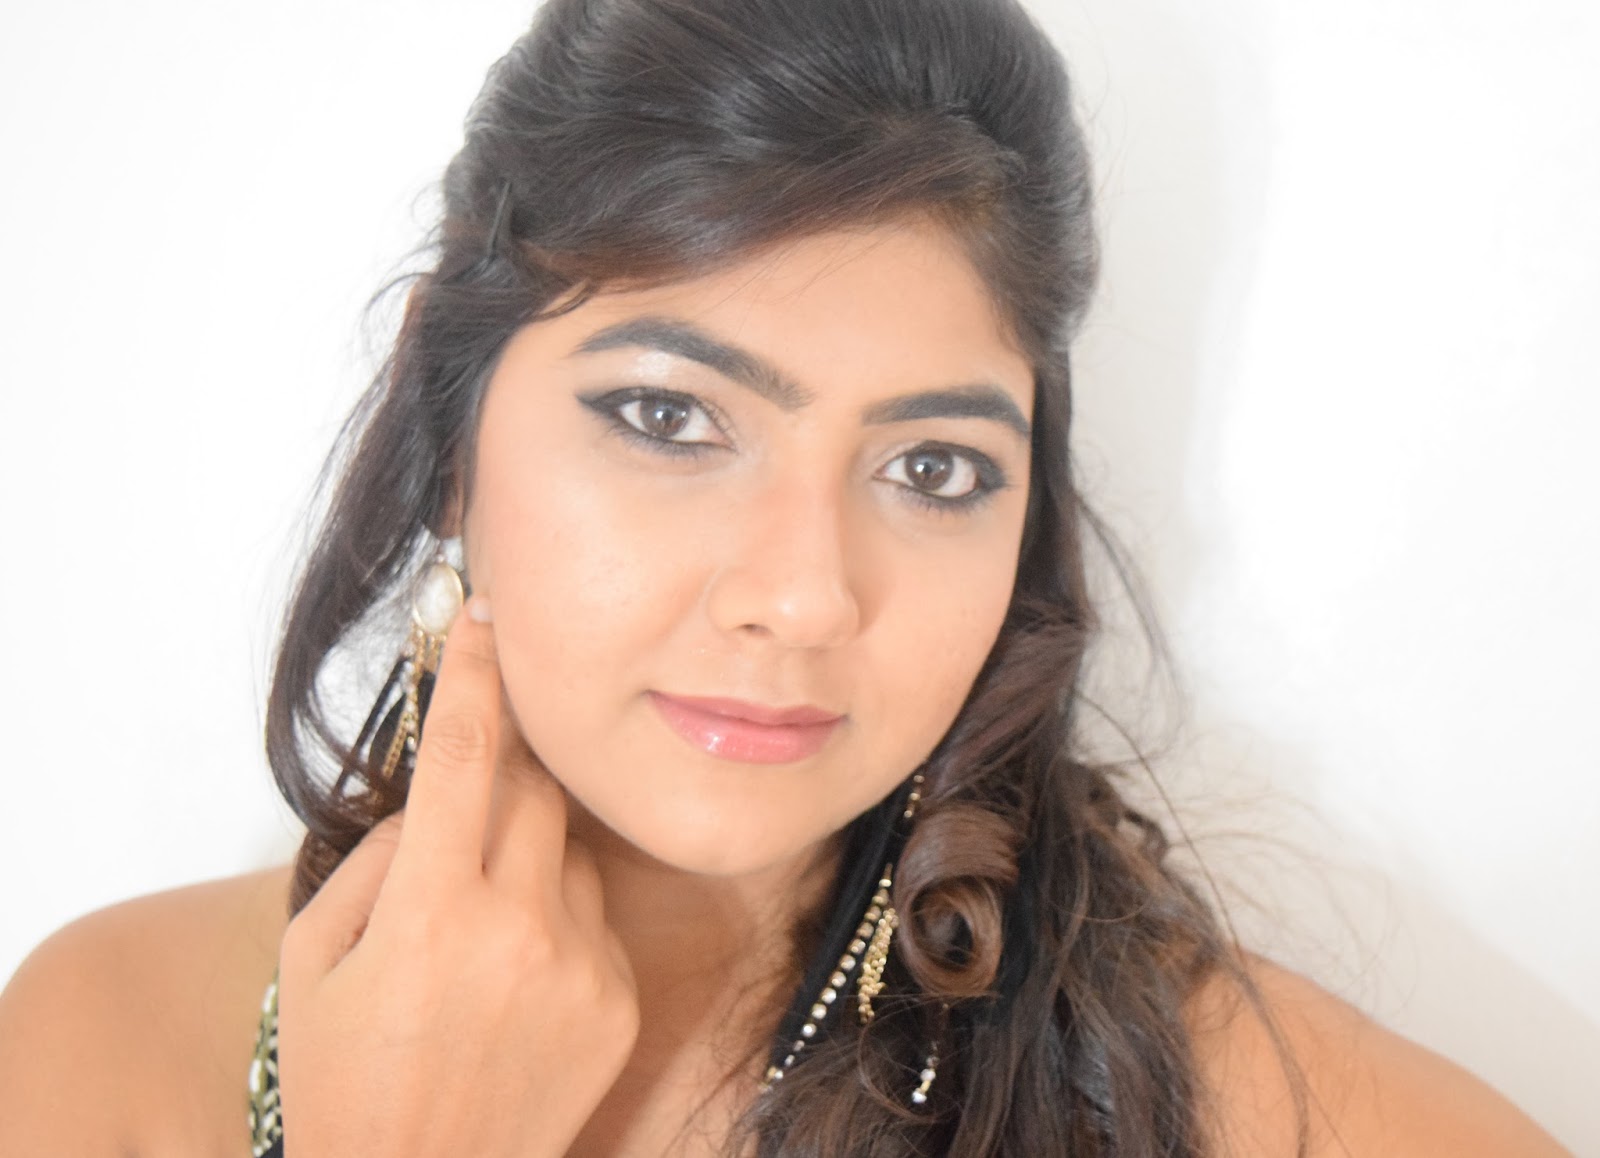
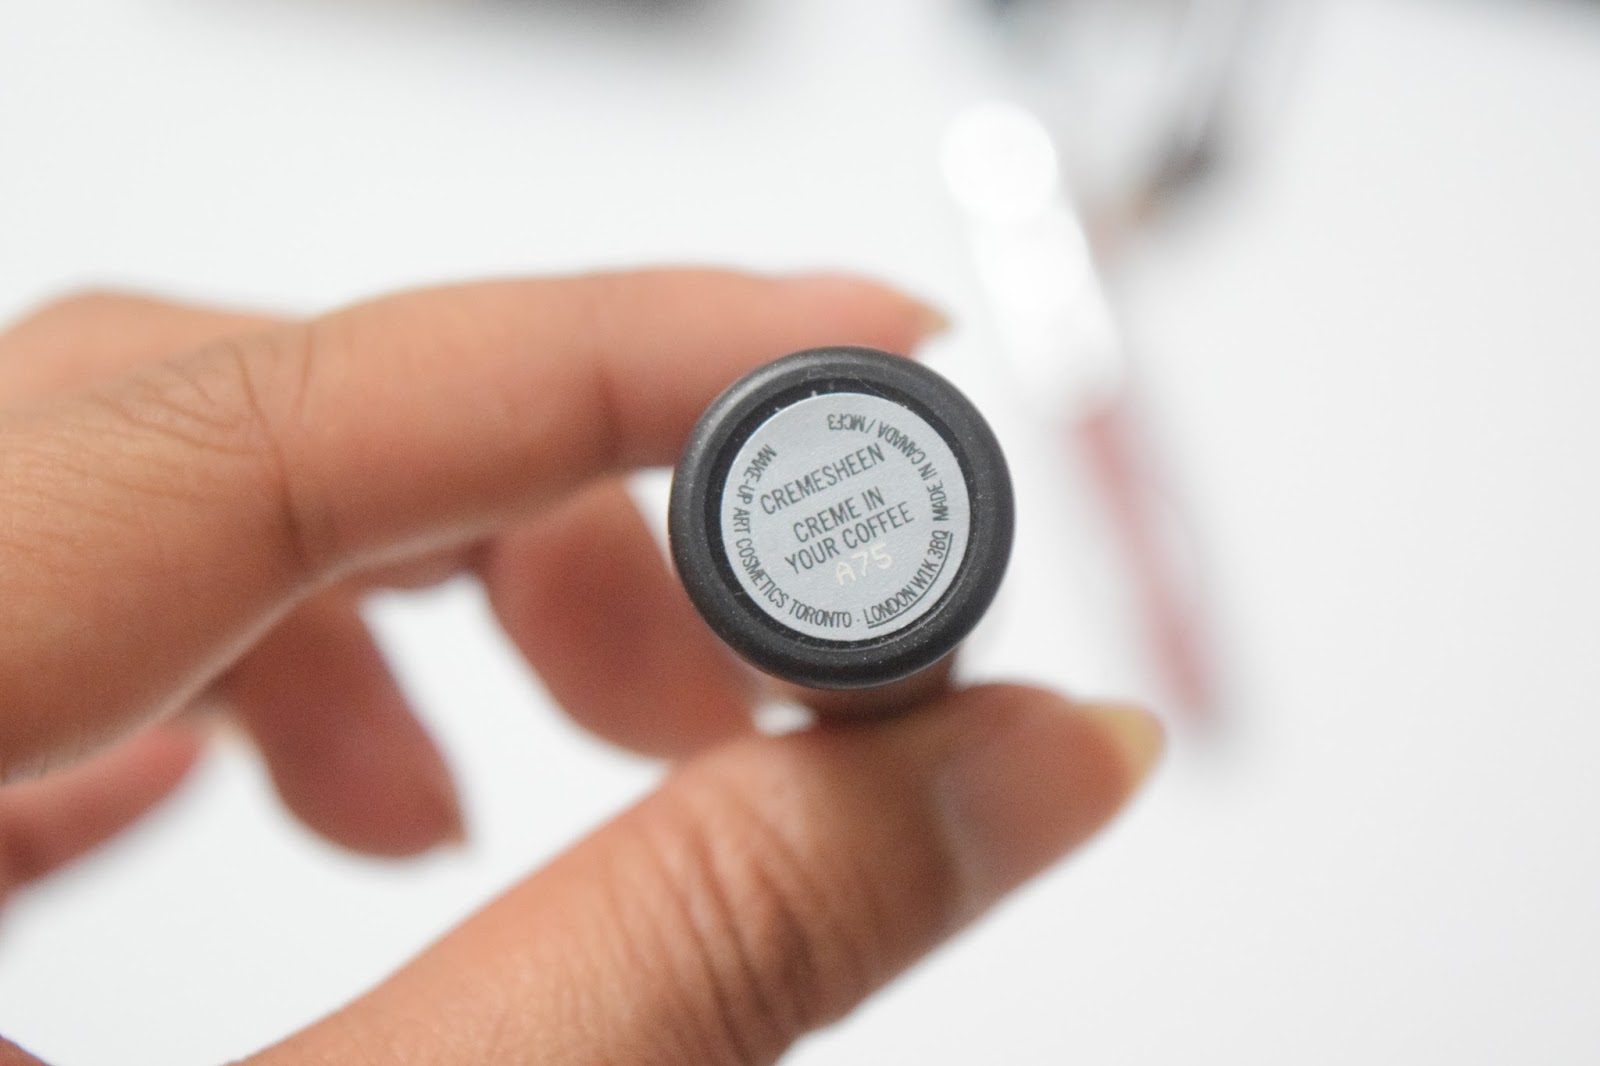
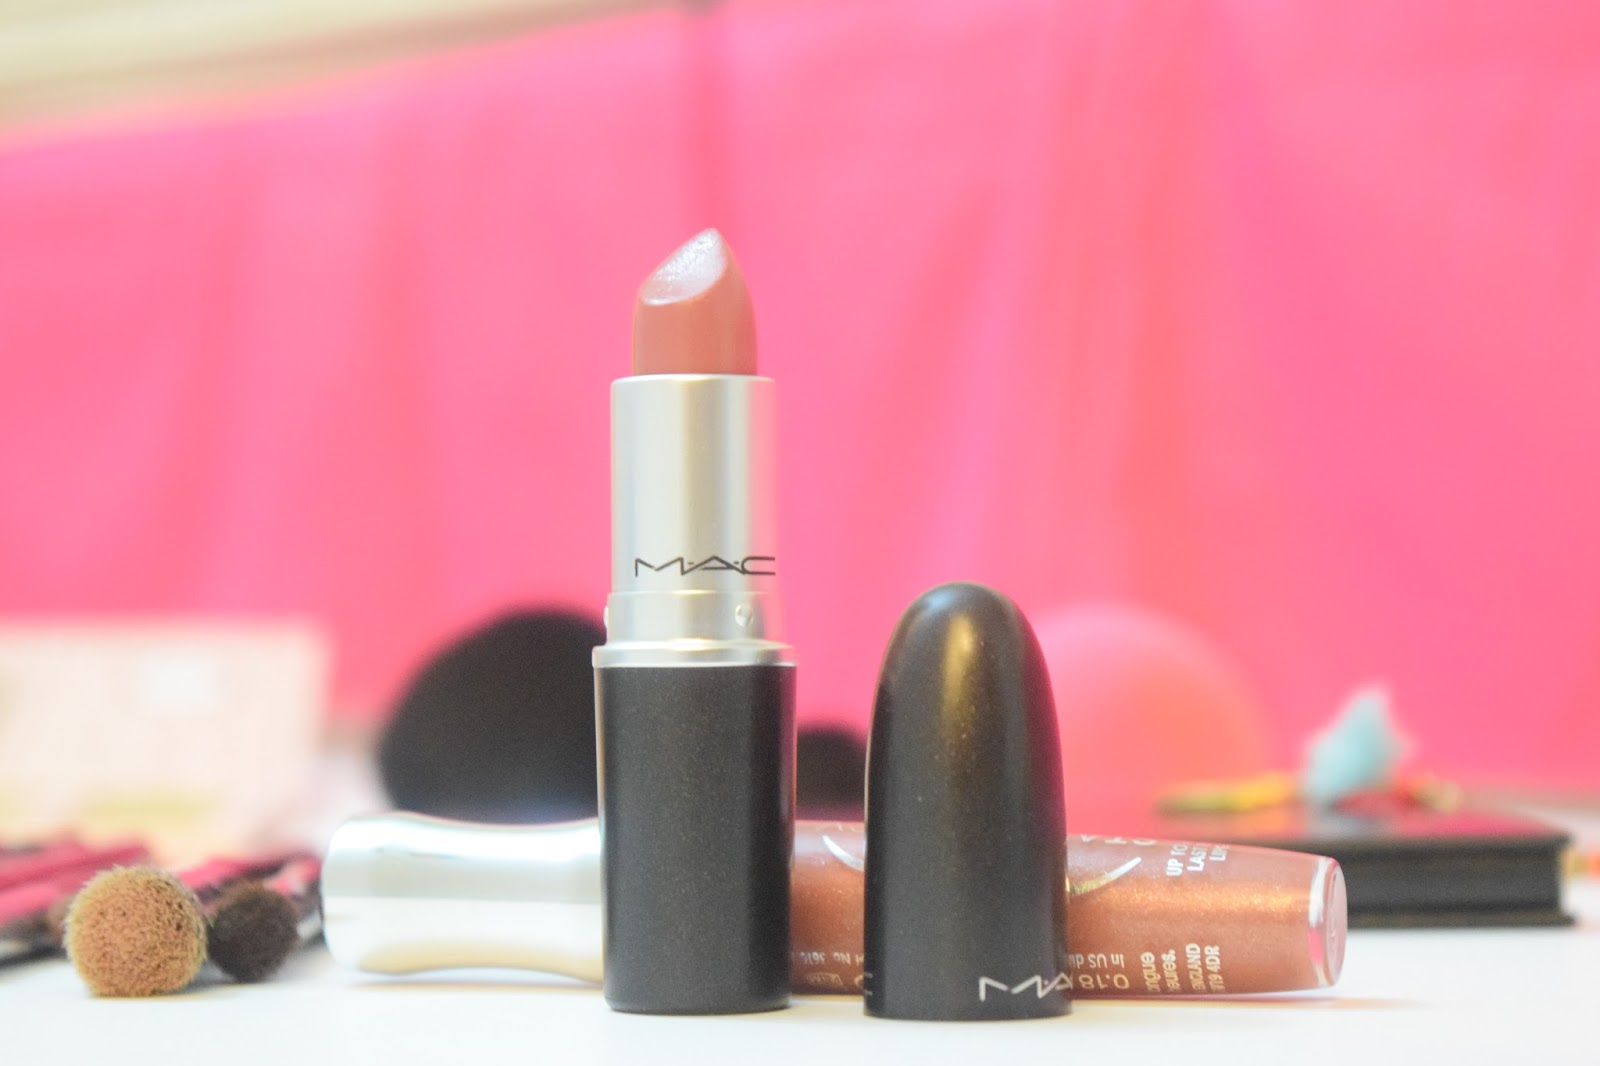
Lipstick: “Cream In Your Coffee” @MAC
Blush: “Orgasm” @NARS
Highlighter: “Mary Lou Manizer” @ The Balm
And we are done with this amazing look <3

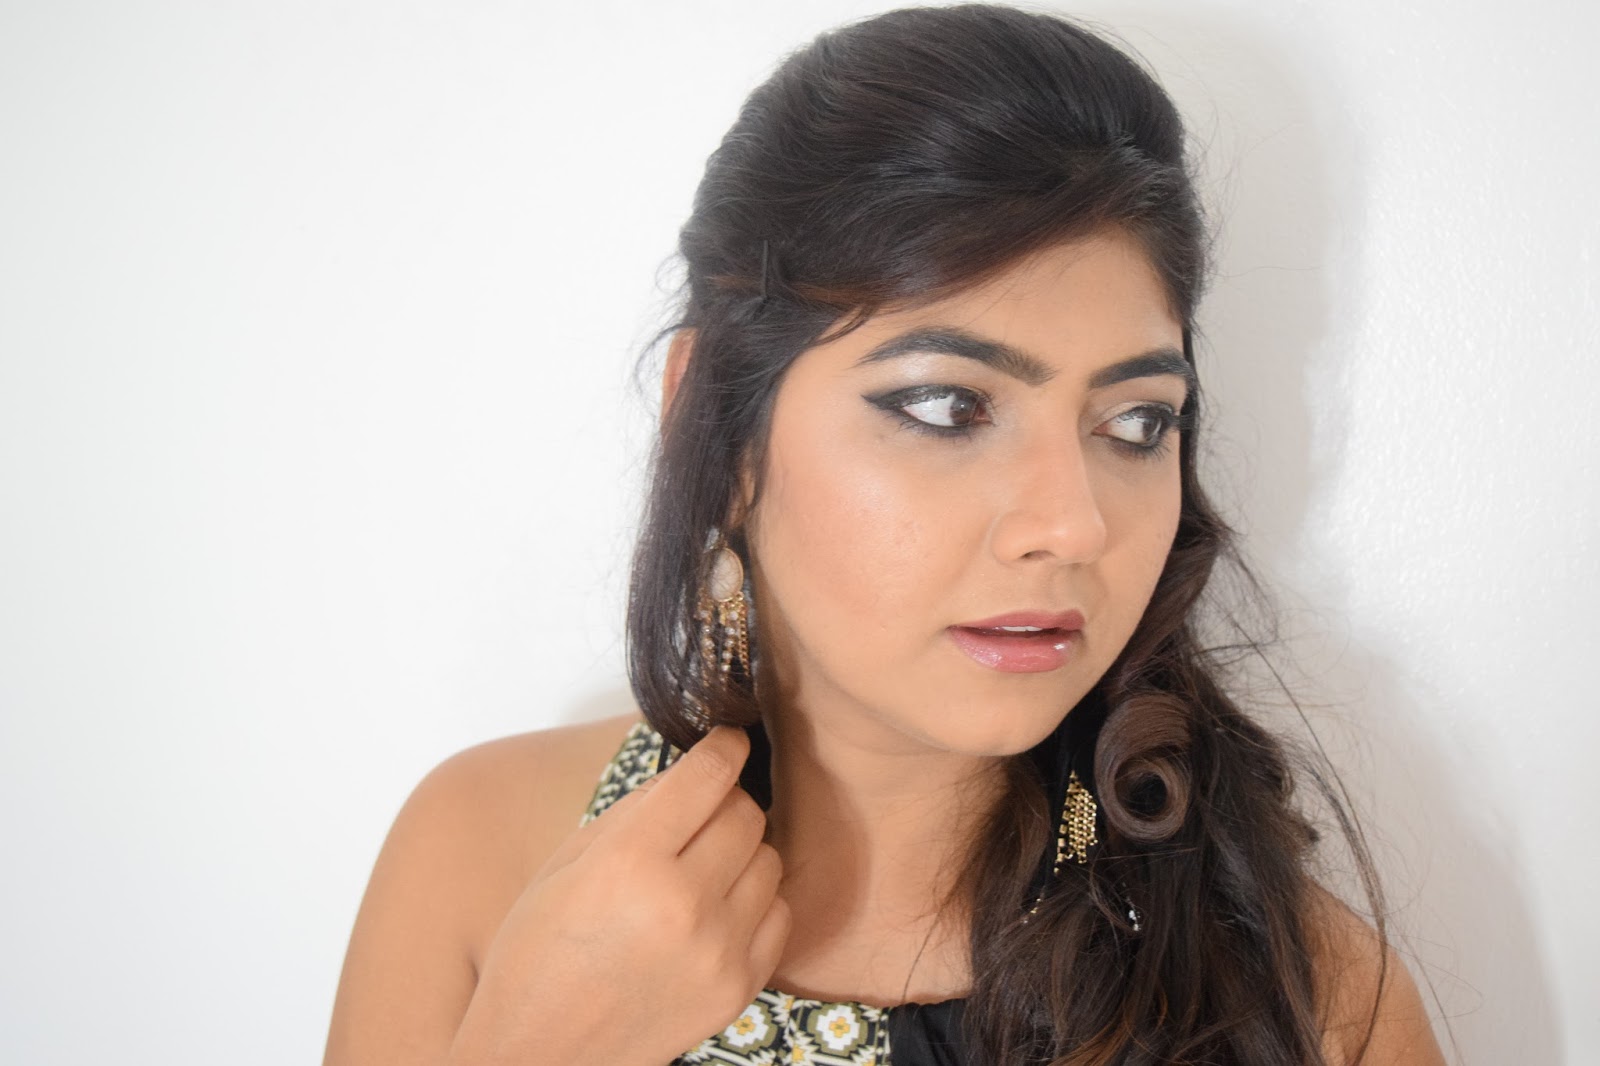


I really hope you find this post helpful while doing your smokey eyes. Let me know if you have any questions and I will be more than happy to answer you. Wishing you’ll a rocking weekend.
PS: This outfit coming soon on the blog. Keep a watch 🙂
XOXO,
Vyom

Thanks a ton Ranjit!!! I am happy that your sister would love it. You can also ask her to like my FB page so she gets an update every time I post anything on my blog. 🙂
Very good blog . I have forward this blog to my sister . She is very keen interested to read , & even she told me that she will be follow the same too. Keep writing & inspiring to all dear . Keep it up