Hello my wonderful friends…
Today’s post is about how to create beautiful and cute DIY(Do It Yourself) boxes for, if you are someone like me whose soul craves to do some art and craft stuff , you will definitely loveeeeeee these. Was it too dramatic??? Hee hee 🙂
So you might ask me this question why DIY? Why waste time? I mean I can get much pretty boxes in the market without wasting any time. Right? But the way I look at it, is different. For me its making something that communicates with my heart and soul whenever I look at it. It gives me a sense of satisfaction and accomplishment which money can never buy. If that makes any sense…
Moreover these boxes are really simple to make and are not much time consuming. So lets get started…
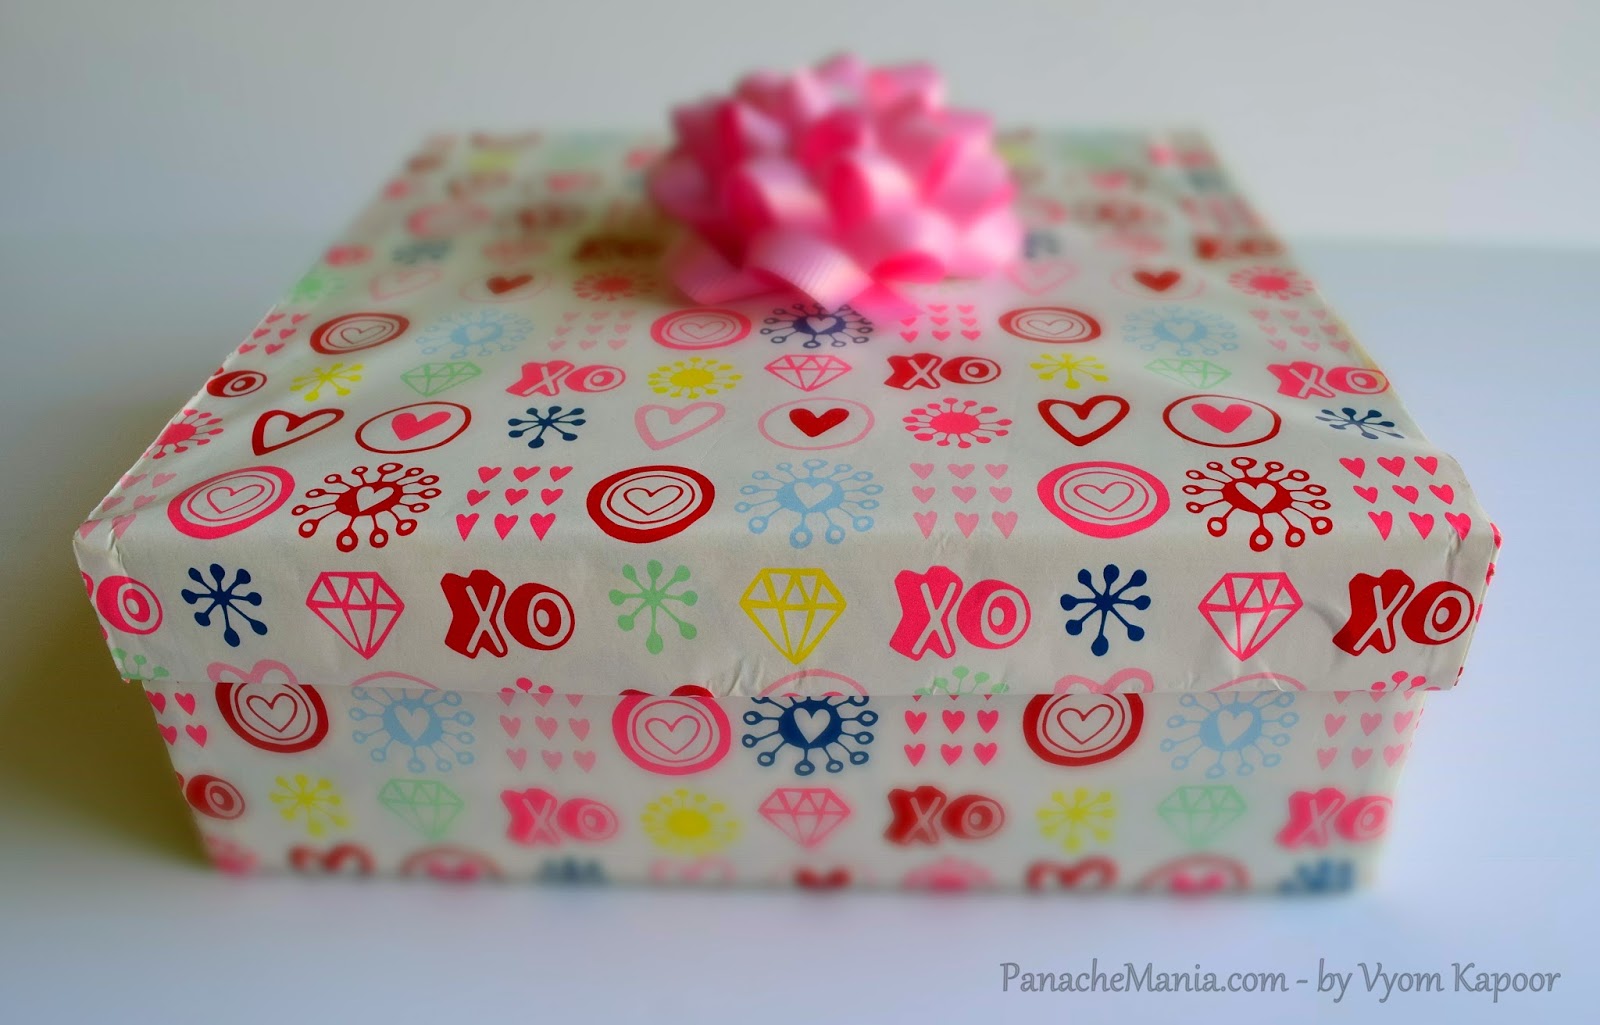
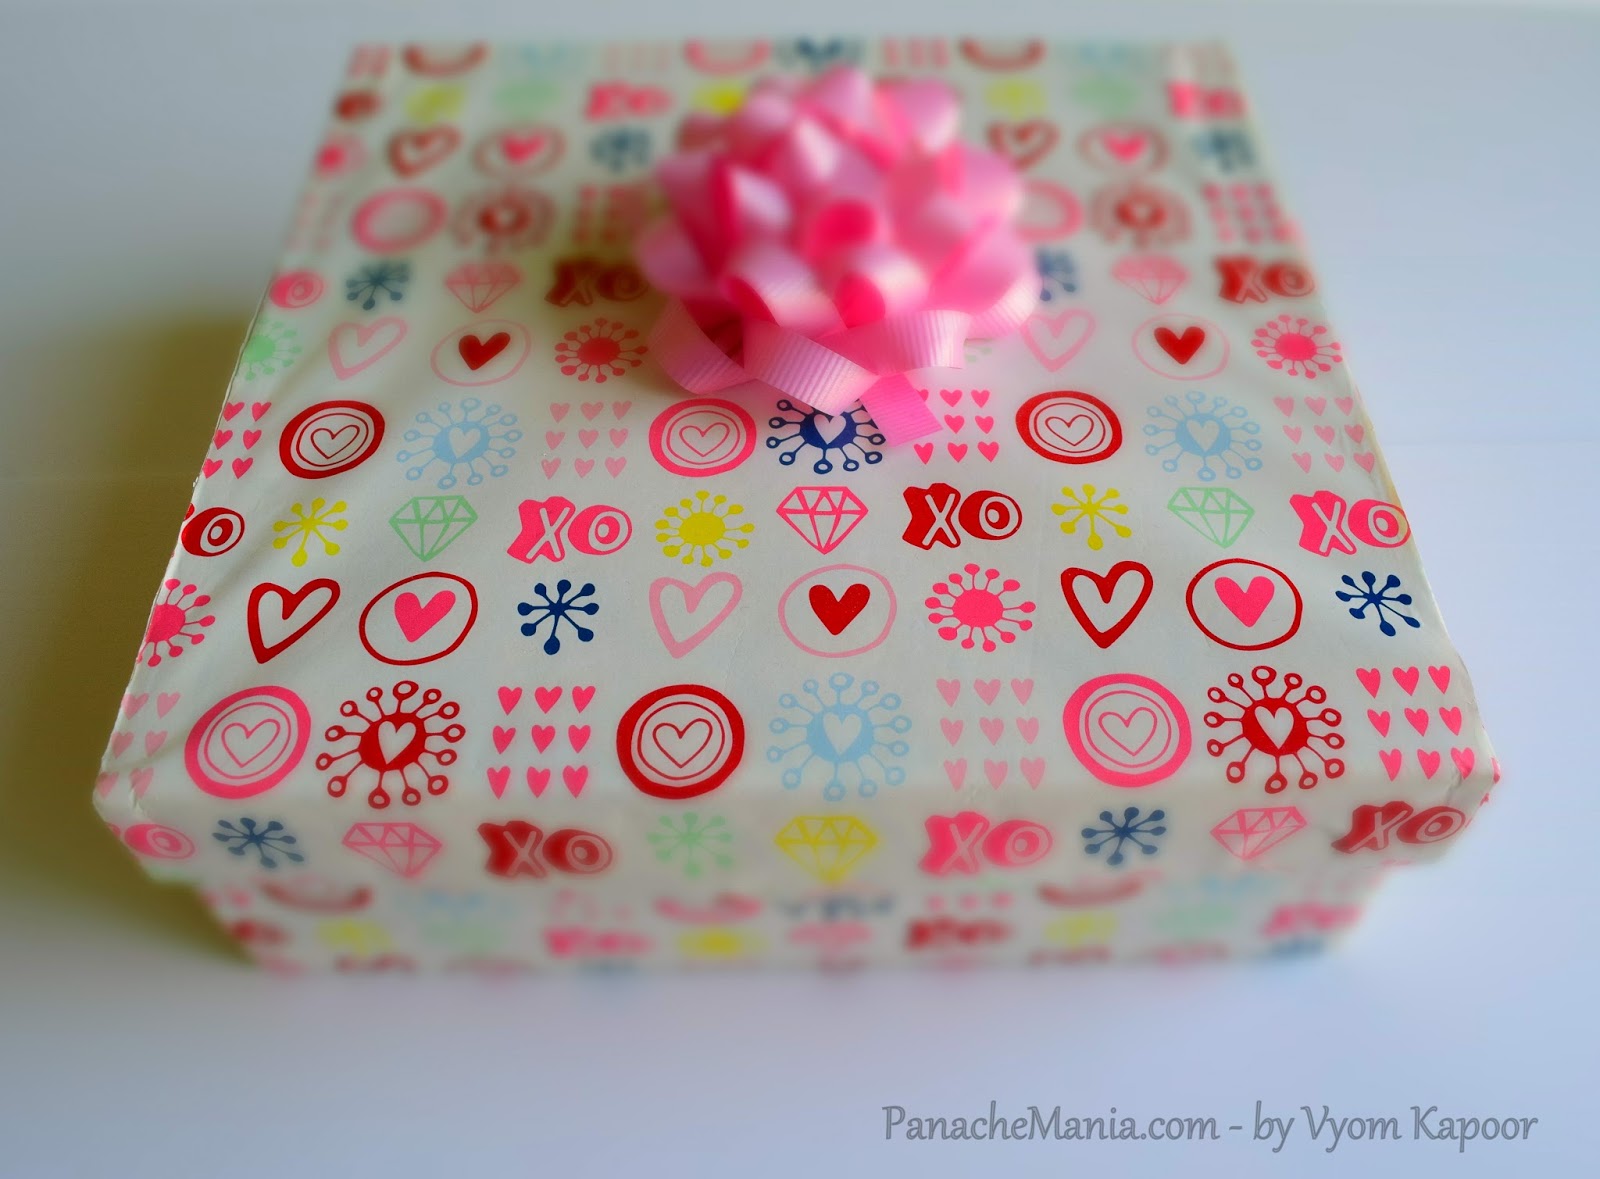
Here are the finished boxes that I made. All you gonna need is:
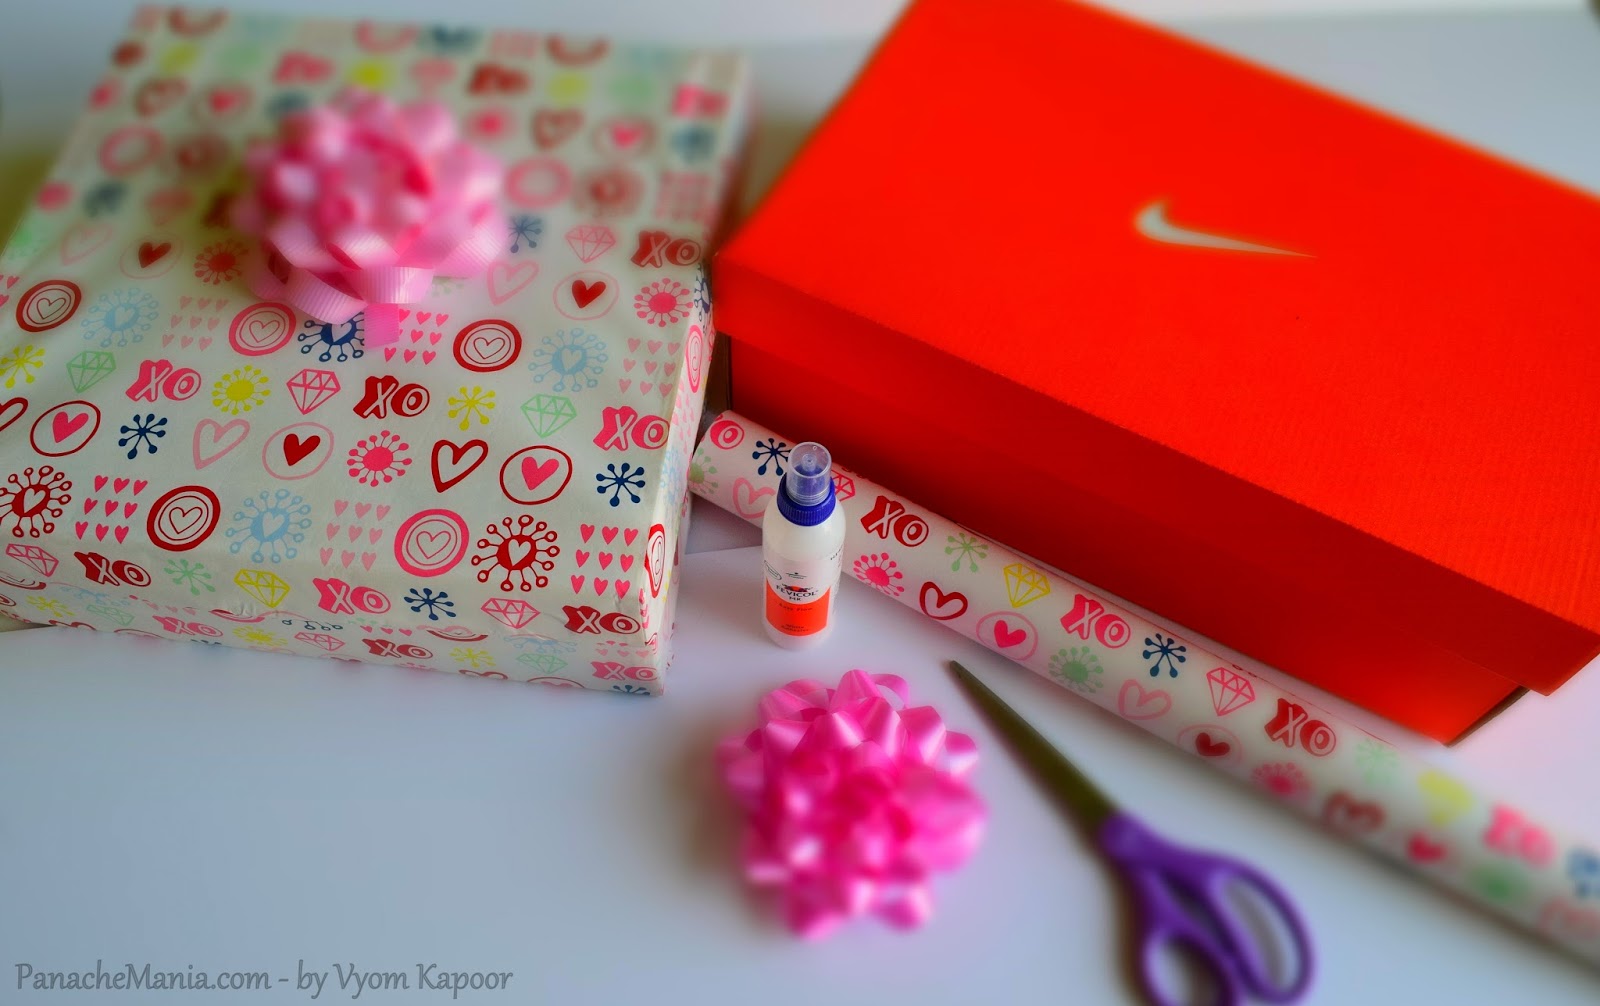
1. Empty Boxes (Usually empty shoe boxes or mail boxes works perfect for me)
2. An old gift wrapping roll of your choice (I used mine from Valentine’s day)
3. A pair of scissors and some tacky glue.
4. A cute gift bow (You can find in any craft store or dollar store)
All you need to do is cut paper of the size a little bigger than the box so that you can fold it and stick it inside. This gives a neat look. Top it off with a gift bow. Tadaaaaaaaa… and its ready!!!
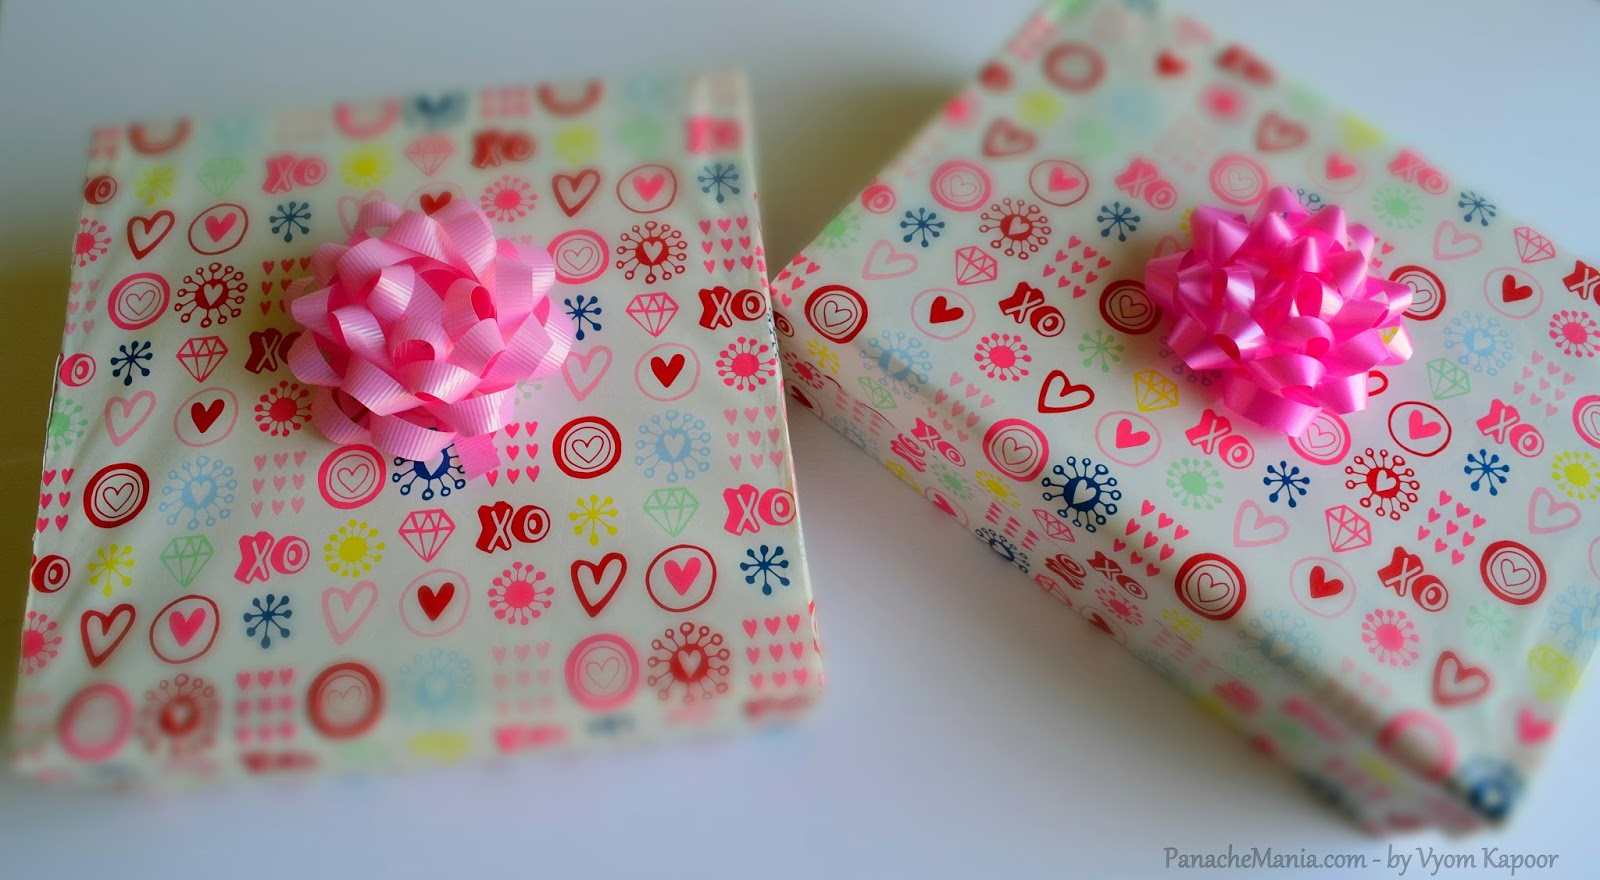
Tip: Just use a thin line of tacky glue to stick the paper and the box or else the the paper is gonna shrink. I learned it the hard way. You can see the difference in my two boxes.
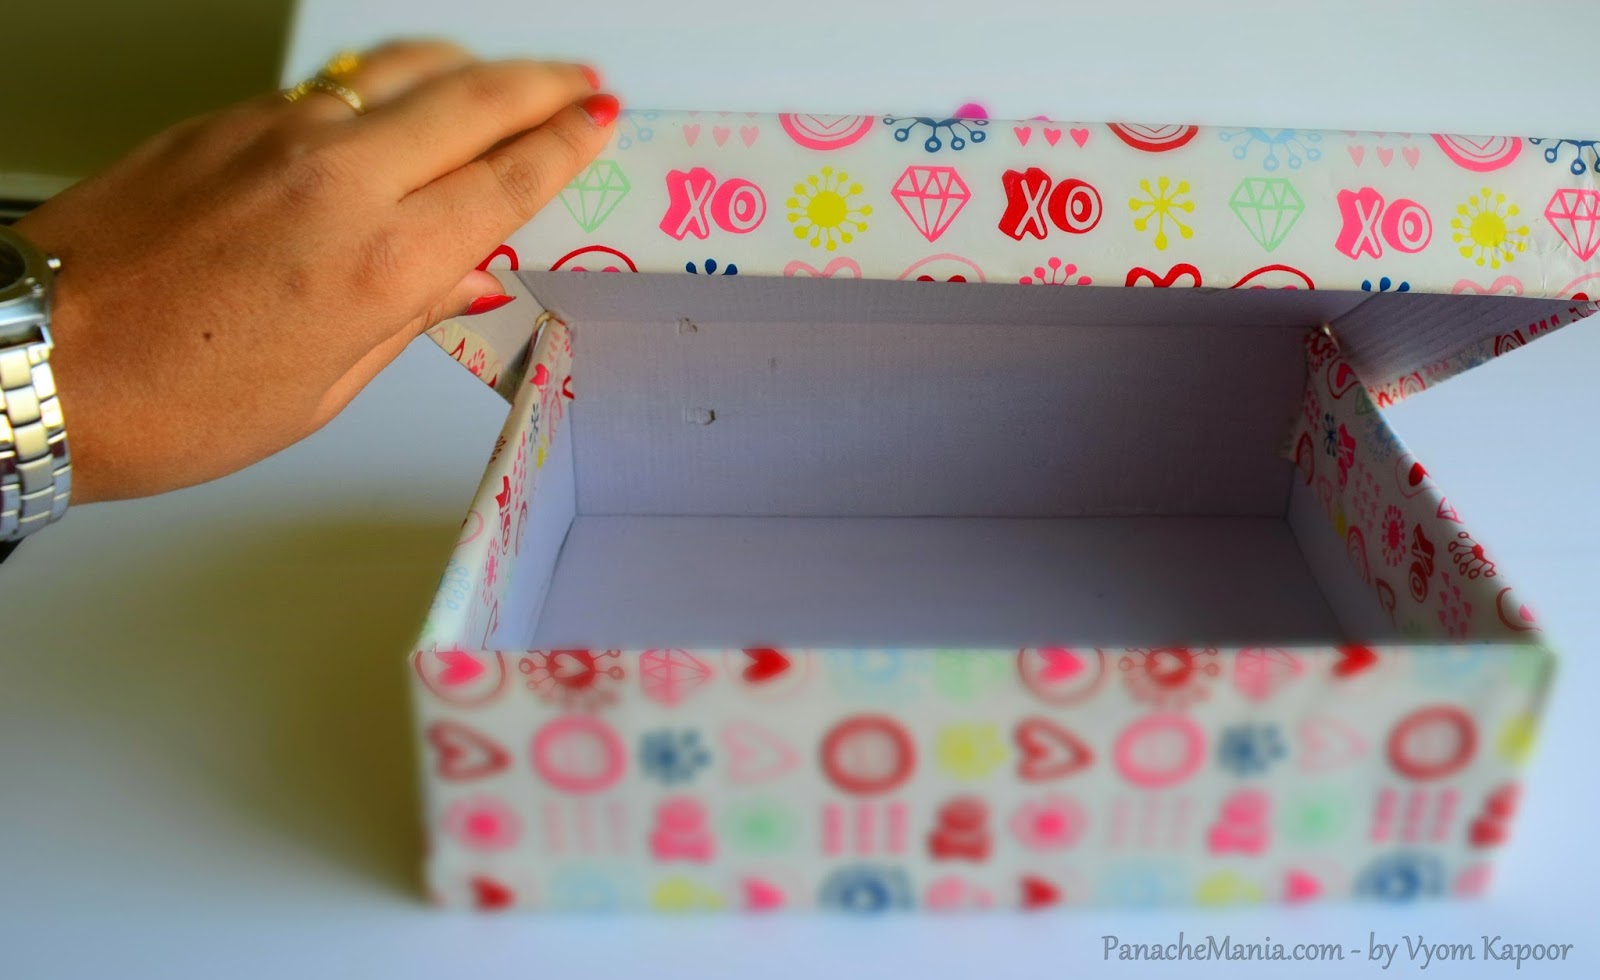
This is how it looks from inside (Not too fancy) but you will agree with me- the finished box looks sooooooo cuteeeeee. It so much looks like a gift box (Maybe not a bad idea)
Now this was something simple… but if you are feeling really artistic and creative, you can go ahead with the so called advanced version…
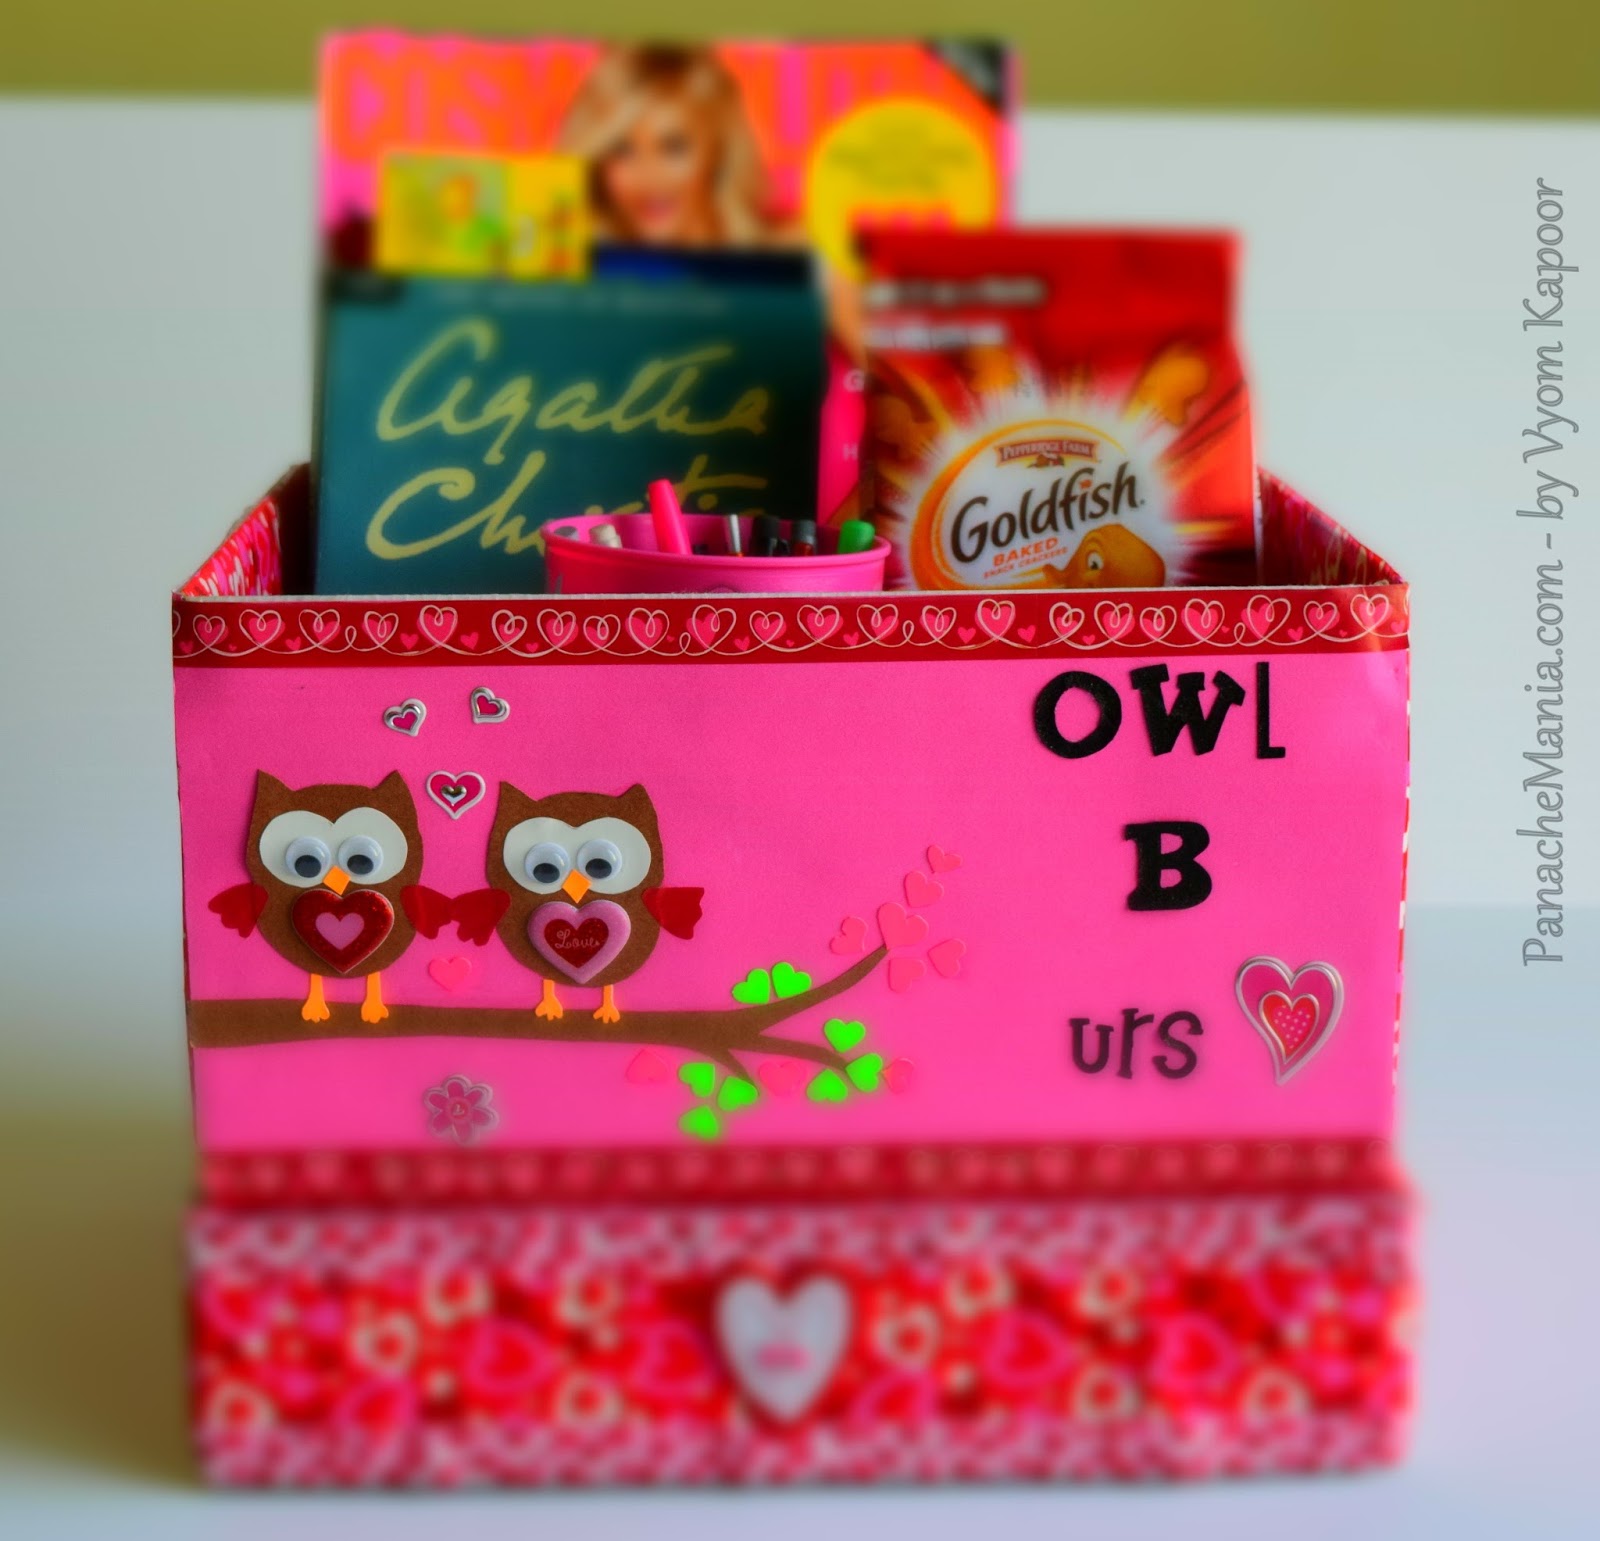
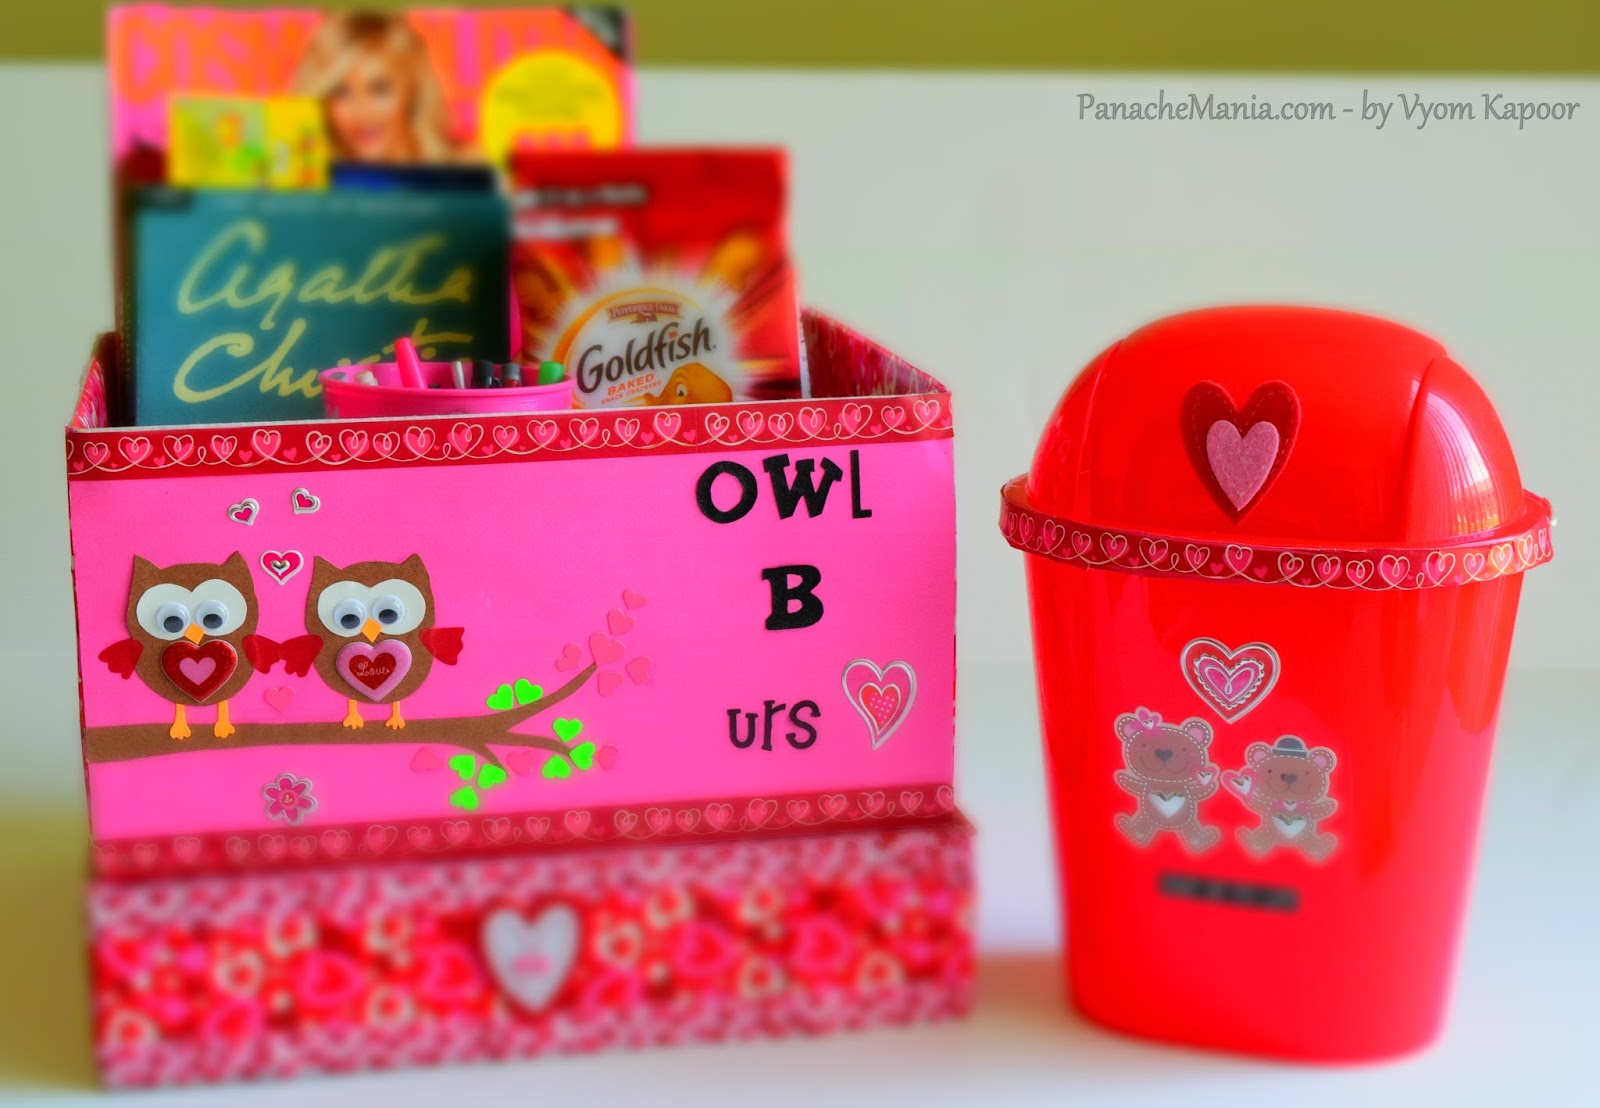
I made this organizer last year and I thought would be great to share it with you guys.
This box took me some time(3-4 hours) but at the end I thought “Its worth it 🙂 “
For this I used:
1. Empty box. ( You can add another box beneath, just in case if you want more elevation. I have used two boxes)
2. Some colored card-stock paper (Depending on what pattern you choose)
3. A few colored duct tapes and trust me this makes life so easier and colorful 🙂
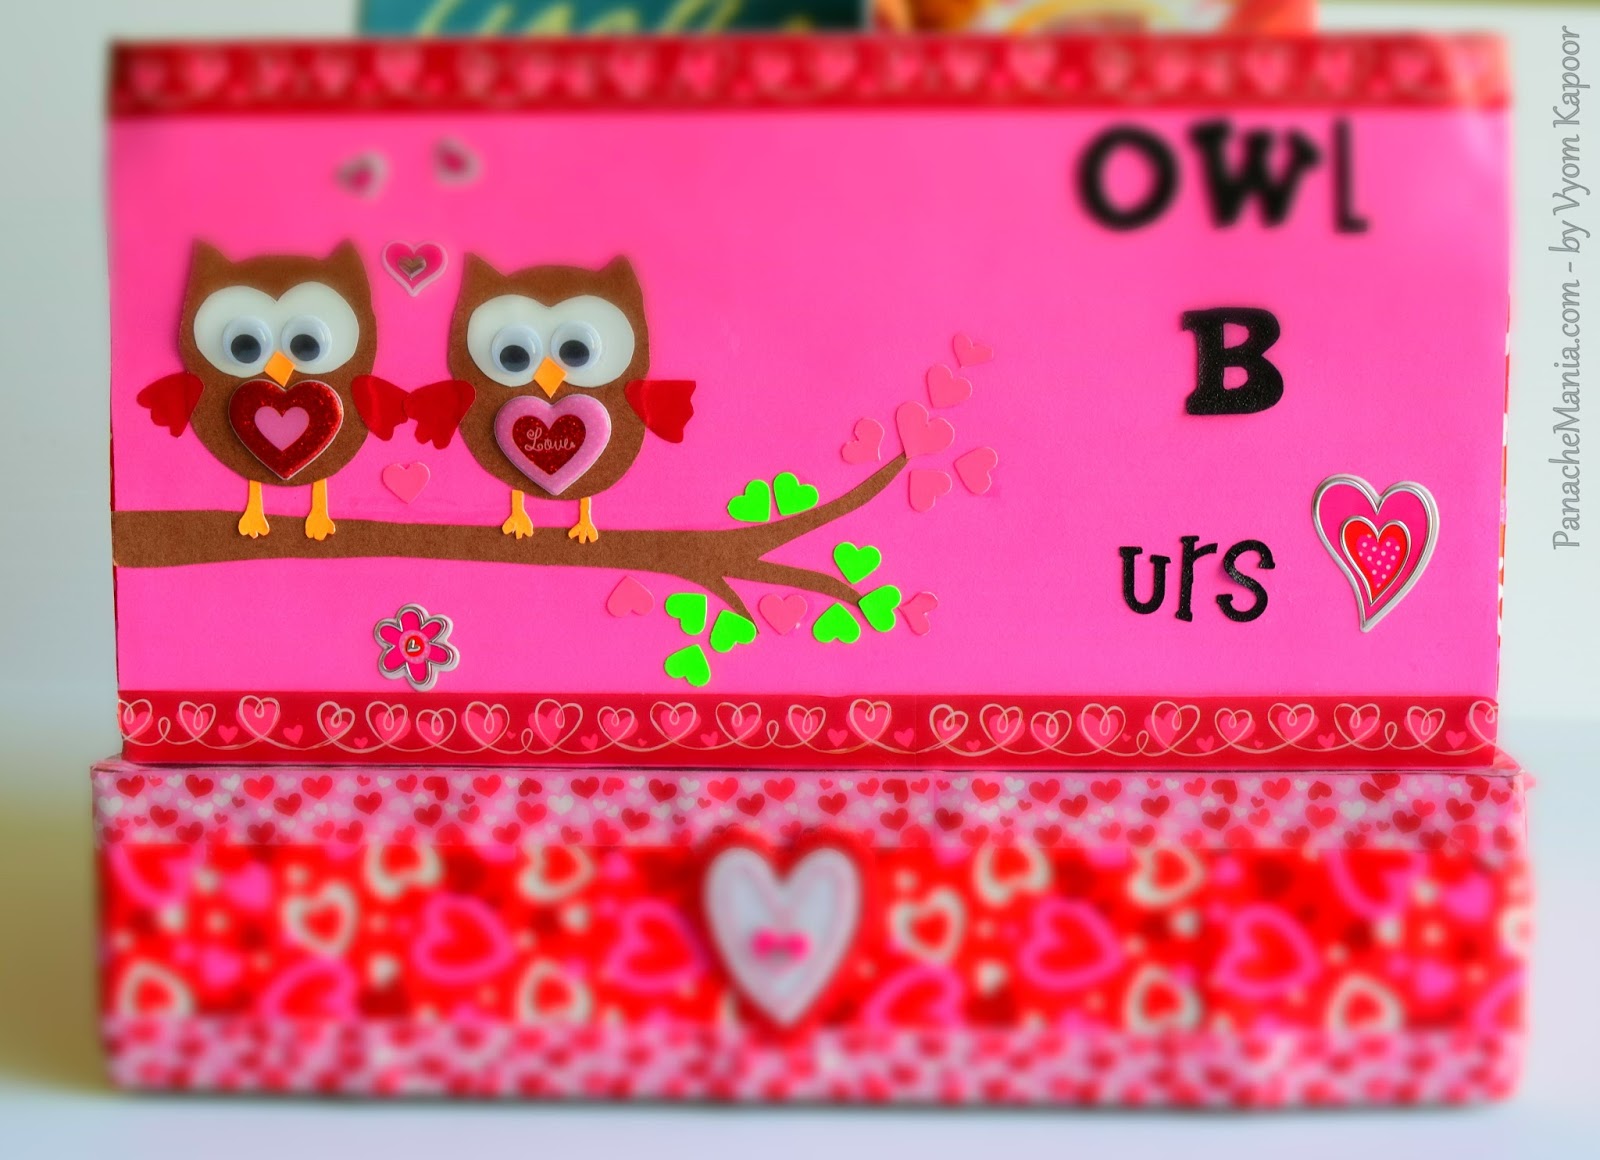
4. Alphabet stickers (I choose to write “OWL be urs”)
5. Some random stickers (I used the heart and the flower shaped)
6. Googly eyes (You can totally skip this step but I thought it looks really cute…)
7. Last but not the least “A heart punch” (I got mine at Michaels)
When I was buying the heart punch, I asked myself if I am ever going to use this. But trust me, ever-since I got it I have been punching hearts 🙂
All I did was stick the duct tape all over the box and then created a base using the card-stock paper. Once your base is ready, you can be as creative as you can. You can pick any pattern or design of your choice and trace them on the card-stock paper, cut them and stick it on. And that is it….
I randomly chose these cute lil owls sitting on the tree. (the leaves on the tree are created using my heart punch) I also used googly eyes to give some more depth to the whole picture.
So what are you waiting for… Just let your creativity take over you.
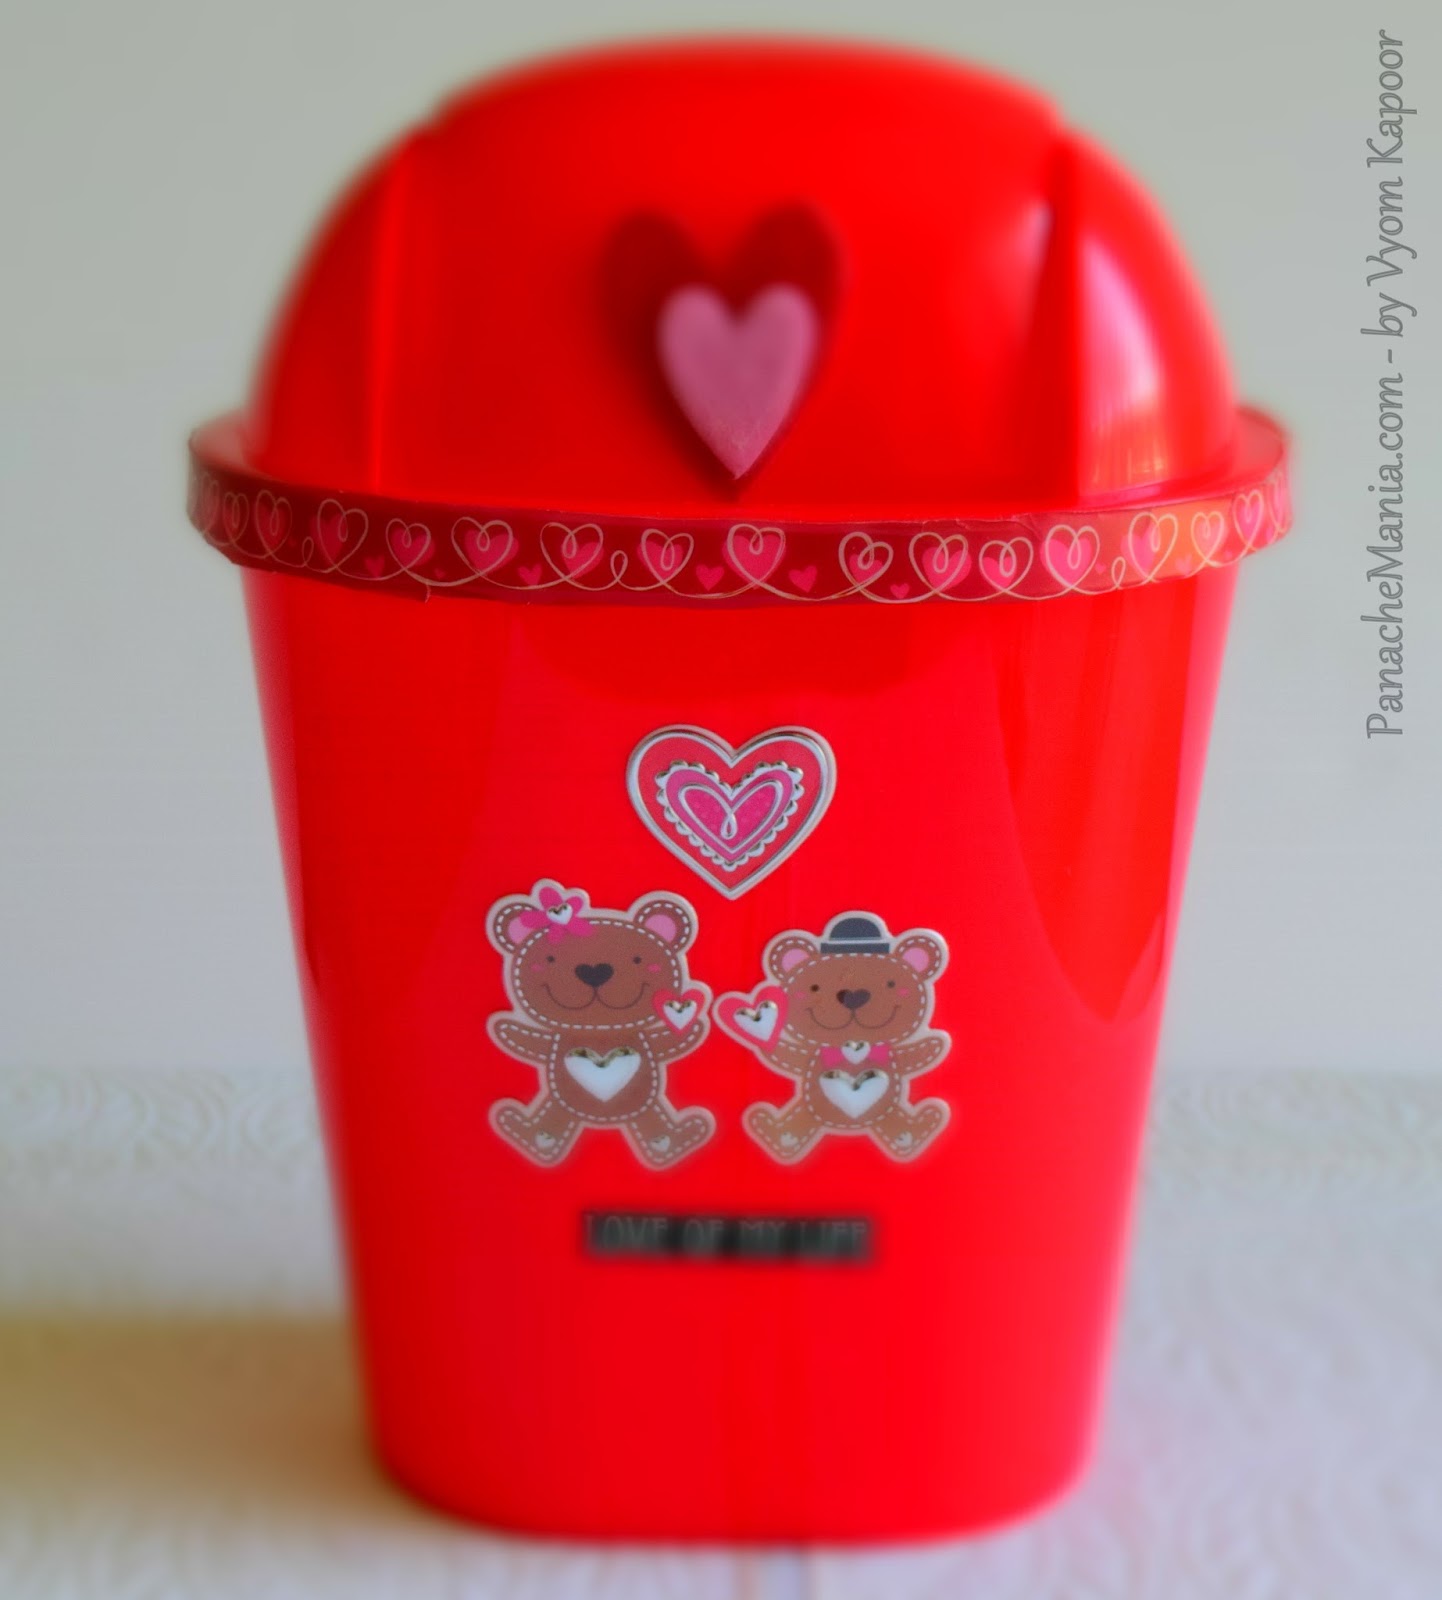
Also wanted to share this piece of creation I did with a bin that I got from the dollar store… I couldnt stand it plain and boring and made it a lil interesting. 🙂
Waoooooo that was a long post. But I really hope you liked it. Do share your thoughts on it and make sure to send me a picture if you recreate it.
Signing off until next time….
Love,
Vyom
